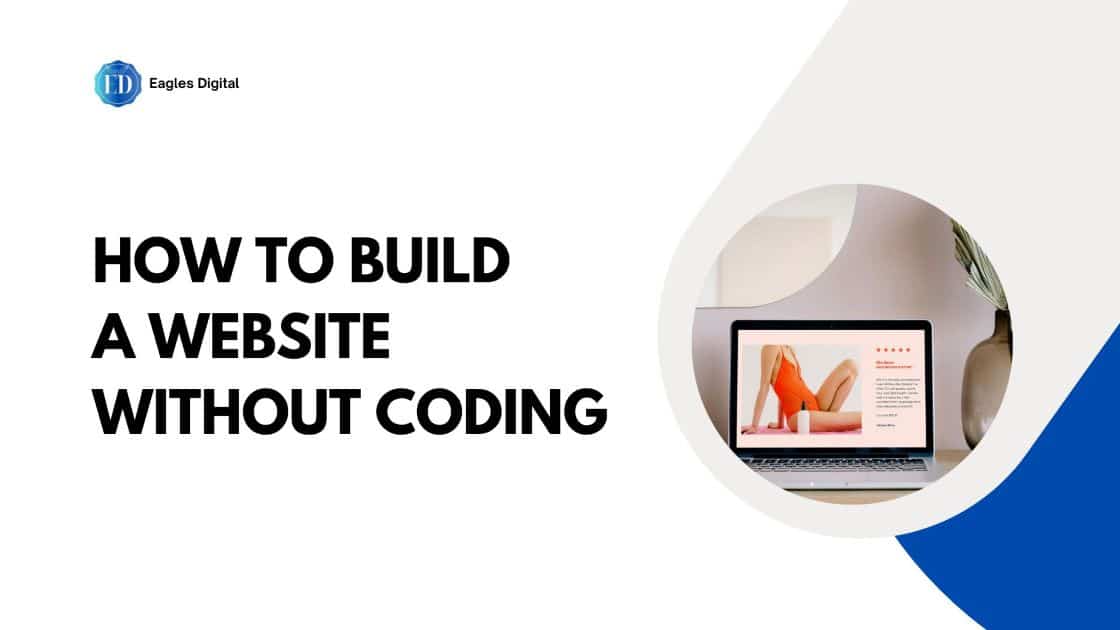
How to Build a Professional Website Without Coding (2026 Guide)
A friend of mine runs a small photography business. She spent two years telling potential clients to “check her Instagram” because she didn’t have a website.
Every time someone asked for a link, she felt a little embarrassed. She knew she needed one. She just didn’t know where to start — and the idea of building a website without coding felt like learning a foreign language.
One afternoon, I walked her through the process. Three hours later, she had a live, professional website with her portfolio, a contact form, and a booking page.
She hasn’t stopped talking about it since.
Let’s be honest: you don’t need a developer, a design degree, or code to build a website. You just need the right tools in the right order.
I created this guide based on my experience building websites for businesses and personal projects. The result? You’ll get a simple, step-by-step process to launch your website without the usual confusion and trial-and-error.
Why Most Beginners Overcomplicate This
The internet is full of website tutorials that start with a 47-step process and end with you more confused than when you began. Hosting plans, FTP clients, DNS propagation, PHP versions — none of that should matter to someone who just wants a clean, professional website up and running.
The good news: it doesn’t have to.
Modern website tools have made the technical side nearly invisible. You don’t configure servers. You don’t touch code. You choose a template, add your content, and click publish. The entire process breaks down into four simple steps — and you can complete all of them in a single afternoon.
How Do You Build A Website Without Coding?
Here are the steps to build a professional website without coding.
Step 1: Register Your Domain on Namecheap
Your domain is your website address — the link you’ll share with clients, put in your email signature, and hand out on business cards. Something like yourbusinessname.com.
Namecheap is one of the most affordable places to register a domain, with most .com domains costing around $10–$15 per year. It’s straightforward, no hidden fees, and the interface is clean enough for complete beginners.
Here’s exactly what to do:
- Go to namecheap.com
- Type your desired domain name into the search bar and hit Enter
- Namecheap will show you whether your .com is available — if it is, you’ll see a green checkmark and an “Add to Cart” button
- If your first choice isn’t available, try a variation — add your city name, your profession, or swap .com for .co if needed
- Click Add to Cart, then View Cart
- On the checkout page, you’ll see an option to add WhoisGuard privacy protection — turn it on, it’s free and keeps your personal information off public registrar databases
- Create your Namecheap account, enter your payment details, and complete the purchase
Your domain is now registered. You won’t connect it to your website yet — that happens in Step 3, and it takes about two minutes.
Quick tips for choosing the right domain:
- Keep it short and easy to spell — if you have to spell it out when saying it out loud, it’s too complicated
- Avoid hyphens and numbers — they create confusion and look unprofessional
- Stick with .com if at all possible — it’s still the most trusted extension globally
Step 2: Set Up Your Hosting on SiteGround
Hosting is the service that stores your website’s files and makes them accessible to anyone who types your domain into a browser. Think of it as renting the building where your website lives.
SiteGround is the hosting provider we’re using for this tutorial. It’s fast, reliable, and — most importantly for beginners — its setup process is the clearest in the industry.
Their support team is also genuinely responsive, which matters when you’re building your first site and something doesn’t look quite right.
Here’s exactly what to do:
- Go to siteground.com and click Get Started under Web Hosting
- Choose the StartUp plan — it’s perfect for a new website and the most affordable option at around $3–$4/month on introductory pricing
- On the next screen, select “I already have a domain” and type in the domain you just registered on Namecheap
- Fill in your account details and complete the payment
- Once your account is created, SiteGround will walk you through a quick setup wizard — follow the prompts and select WordPress as your platform when asked
- SiteGround will install WordPress for you automatically — this takes about 60 seconds
- At the end of the wizard, you’ll receive your WordPress login credentials — save these somewhere safe
WordPress is now installed. But before you log in and start building, you need to connect your domain to SiteGround so that when someone types your address into a browser, it points to your new hosting account.
How to connect your Namecheap domain to SiteGround:
- Log into your Namecheap account and go to Domain List
- Click Manage next to your domain
- Scroll down to the Nameservers section and select Custom DNS from the dropdown
- SiteGround will have sent you two nameserver addresses in your welcome email — they look like ns1.siteground.net and ns2.siteground.net (yours may be slightly different)
- Enter both nameserver addresses into the Namecheap fields and click the green checkmark to save
- DNS changes take between 30 minutes and 24 hours to fully propagate — you can track it in real time at WhatsMyDNS.
Once propagation is complete, your domain will point to your SiteGround hosting account and your WordPress site will be live at your address.
Check out my full SiteGround review for more information.
Step 3: Build Your Website With 10Web AI
This is where the magic happens — and where most beginners expect things to get complicated. They don’t.
10Web AI is an AI-powered website builder that integrates directly with WordPress.
Instead of starting with a blank page and figuring out design as you go, 10Web asks you a few simple questions about your business and then builds an entire website for you — homepage, about page, services, contact page — fully designed, fully laid out, with placeholder content ready for you to swap in your own.
Here’s exactly what to do: Install 10Web on your WordPress site:
- Log into your WordPress dashboard — go to yourdomain.com/wp-admin and enter the credentials SiteGround gave you
- In the left sidebar, click Plugins → Add New
- Search for 10Web AI Website Builder in the search bar
- Click Install Now on the 10Web plugin, then click Activate
- 10Web will prompt you to create a free account — do that, it takes 30 seconds
Generate your website with AI:
- Once activated, 10Web will open its setup wizard — click Create a New Website
- Select Generate with AI
- You’ll see a text field asking you to describe your business. Be specific here — the more detail you give, the better the result. For example: “I’m a freelance photographer in Toronto specializing in family portraits and corporate headshots. I want a clean, modern website with a portfolio gallery, a services page, and a contact form.”
- Hit Generate and watch 10Web build your website — this takes about 60–90 seconds
- When it’s done, you’ll see a full preview of your new website with all pages created
Customize your content:
- Click Edit Website to open the visual page builder
- Click on any text element to edit it directly — your name, your headline, your service descriptions
- Click on any image to replace it with your own photos — just upload from your computer
- To change colors or fonts, look for the Global Style settings in the top bar — changing these updates your entire website in one click
- To add or remove pages, go to the Pages section in the sidebar
- When you’re happy with how everything looks, click Publish
Your website is now live.
A few things to update before you share your site:
- Replace every piece of placeholder text with your real content — name, bio, services, contact info
- Upload your own photos wherever you see generic stock images
- Make sure your contact form actually works — send yourself a test message and check that it arrives in your inbox
- Check your site on your phone by pulling it up in your mobile browser — 10Web’s designs are mobile-responsive by default, but always verify it looks right on a small screen
Step 4: The Four Pages Every Professional Website Needs
10Web AI will create your pages automatically, but here’s what each one should say once you fill in your own content.
Home page. This is your most important page and the first thing most visitors see. It needs to answer three questions in under five seconds: who you are, what you do, and who you do it for.
One clear headline is enough — something like “Professional Photography for Families and Businesses in Toronto.” Below that, a short paragraph and a call-to-action button pointing to your services or contact page.
About page. People hire people they trust. Your about page is where you build that trust. Write two or three paragraphs in a natural, conversational tone — your background, why you do what you do, and what makes working with you different. Don’t aim for formal. Aim for honest.
Services page. List what you offer, what’s included, and what it costs (or at least a starting price range). Visitors who can’t quickly figure out what you sell and what it costs will leave without asking. Be clear and specific.
Contact page. 10Web will create a contact form automatically. Make sure the form fields ask for name, email, and a message field at minimum. In your SiteGround email settings, verify that form submissions are being forwarded to the email address you actually check.
Step 5: Check Your Site Before You Share It
Before you send your website link to anyone, do a quick launch checklist:
On desktop:
- Read every page from top to bottom — look for leftover placeholder text like “Lorem ipsum” or “Your Name Here”
- Click every button and link to confirm they go somewhere
- Fill out your contact form yourself and verify the message arrives in your inbox
On mobile:
- Open your website on your phone and scroll through every page
- Check that images load properly and text is readable without zooming
- Tap every button to confirm they’re large enough to tap comfortably
Basic settings:
- Go to WordPress → Settings → General and make sure your Site Title shows your real business name
- Go to Settings → Reading and confirm your homepage is set to display correctly
- Go to Settings → Permalinks and select Post name — this makes your page URLs clean and readable
Once everything checks out, your site is ready to share.
What Your Total Investment Looks Like
Here’s what building your website with this stack actually costs:
- Namecheap domain (.com) – $10–$15/year
- SiteGround StartUp hosting – $3–$4/month
- 10Web AI – Free plan available, paid from start at $10/month
First year total: roughly $60–$80. That’s less than a single hour with a web developer — and you own the whole thing.
The Only Thing Slowing You Down Is Starting
Every tool in this guide is designed for people who have never built a website before.
The process is forgiving — you can edit, change, and update your site at any time after it’s live. Nothing is permanent. Nothing is unfixable.
Your first website doesn’t need to be perfect. It needs to exist.
A clean, professional, live website that clearly says what you do and makes it easy to reach you will do more for your business this week than a perfect website you’re still planning six months from now.
Register your domain today. That one small action makes everything else feel real — and once you’ve done it, the next step always comes easier than you expect.
Your website is one afternoon away. Start with Step 1.

The Best Blogging Platforms You Should Consider Using in 2025

7 Best VPS Hosting Providers of 2025 (Ranked & Compared)

5 Best SEO Tools of 2025 (Expert Picks)
About Author
Alma Coul
Alma is the founder and CEO of Eagles Digital. He is an SEO expert and has over seven years of experience in Web programming and building visibility for businesses through content marketing.